
Guest Post from Our Partner, X-Cart
It’s a well-known fact that nothing costs you more sales than amateur-looking product shots.
Online customers are visual. They want to know for sure what they are buying when they shop online. If your photos fail to depict your products precisely, your customers will go straight to your competitors and won’t be back.
We’ve put together this extensive product photography guide jam-packed with useful photographic advice for selling products online. Try them all one by one and see your sales boost with a wave of a magic wand. You’ll learn how to get professional looking results without a full photo studio and shoot products the way professional photographers do.
Here at X-Cart, we’ve tried these tips and tricks first-hand and keep recommending them to everyone who, one way or another, has to deal with photographing their products.
Tip 1 – Product Images Do Matter. Why?
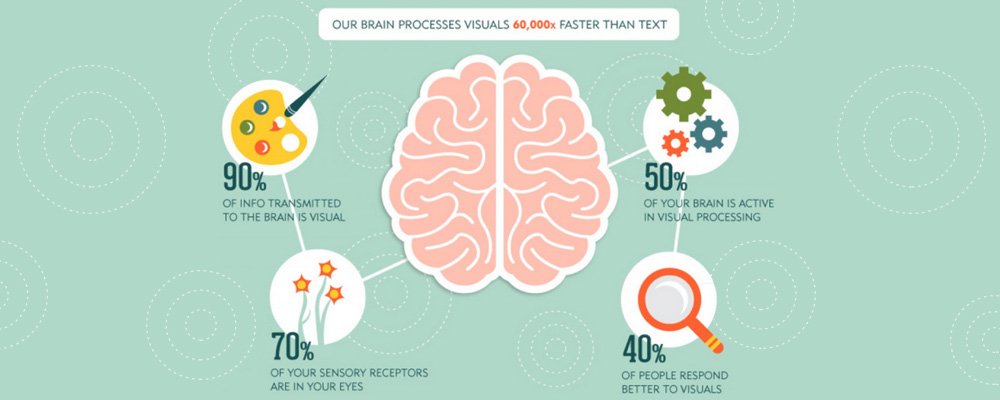
Studies show that our brain processes visuals 60,000x faster than text, which simply means that once you got an idea to grab your customer’s attention, you’ll have to capture clear and accurate photos. Professional-looking photos catch people’s eyes, drive higher conversion rates and get more clicks, tweets, and likes in social media compared to products with no or low-quality photos.
The X-Cart design team is sure of one thing: the more comfortable shoppers feel about the products they’re browsing, the less likely they abandon their carts. That is why our designers are always around to help merchants create a better virtual experience for the items they offer.
Tip 2 – The Eight Basics of Photography
If you think that you have to spend lots of money for a big high-end camera to make vibrant product photos, you are wrong. All you need is a digital camera and a basic understanding of how it works. In most cases, a smartphone will suffice perfectly.
You do, however, need to have a basic understanding of some of the functions:
- Shutter speed. A fast shutter speed will ensure sharp shots and help you avoid camera-shake.
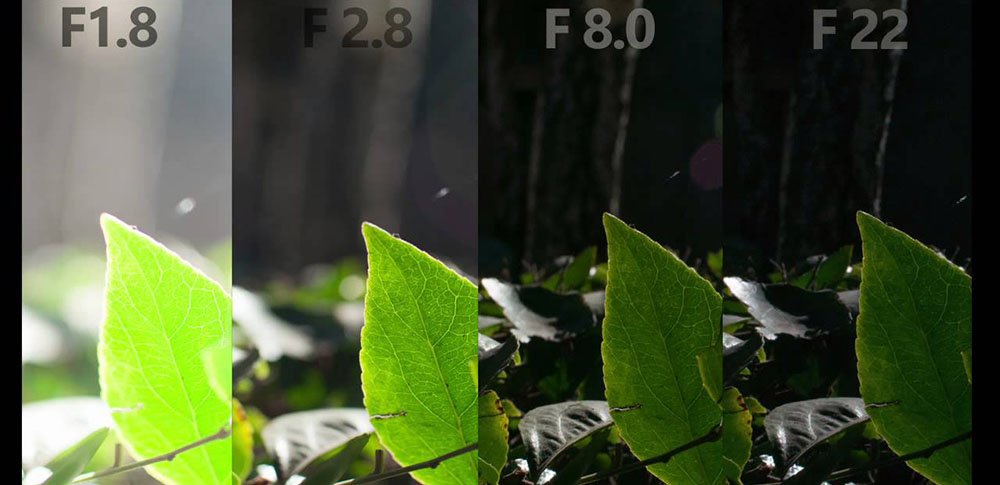
- Aperture, or f-stop, controls the amount of light the lens allows into the camera. The lower the number, the smaller the hole in the lens, and the less likely that your shot will be in focus.
- ISO determines the level of sensitivity of your camera. It’s suggested that you keep it as low as possible, as your images may be a bit grainy.
- Exposure is used to control the lightness and the darkness of the image. If you leave the shutter open longer, you’re getting more light to the film and your picture will be brighter.
- White Balance. This option is to ensure the most accurate colors possible, making the picture warmer or cooler.
- Type of lightning. Lightning can either improve or hinder your photo, so it’s vital to understand how it works and how to tune it the right way.
- Composition helps you to display the product to the best advantage. Try to move things around until you get the result you want.
- Focus/Blur. Though out-of-focus blurred pictures are becoming popular in social media, product pictures should be crystal clear and sharp.
Tip 3 – The Gear You Really Need for Product Photography
There’s a wide range of photography equipment on the market: lenses, tripods, bags and many other things.
Here’s a quick guide that will help you choose the gear you really need for product photography:
- Choosing a camera. There are lots of inexpensive cameras priced under $200 such as the Sony RX100, EOS Rebel SL1, or Nikon CoolPix A10. Professional cameras, such as the Nikon D81, Canon 5D, and Nikon D500, are more expensive but they have all the bells and whistles you need.
- Lenses. Keep it in mind that lenses are usually bought separately from the body if you have a professional photo camera. But if you have a smartphone or point & shoot, you don’t need to buy anything because a lens is already built in. Here are a few examples of good lenses:
- Lensbaby Velvet 56mm
- Tamron 35mm
- Di VC USD
- Canon 100 mm Macro 2.8.
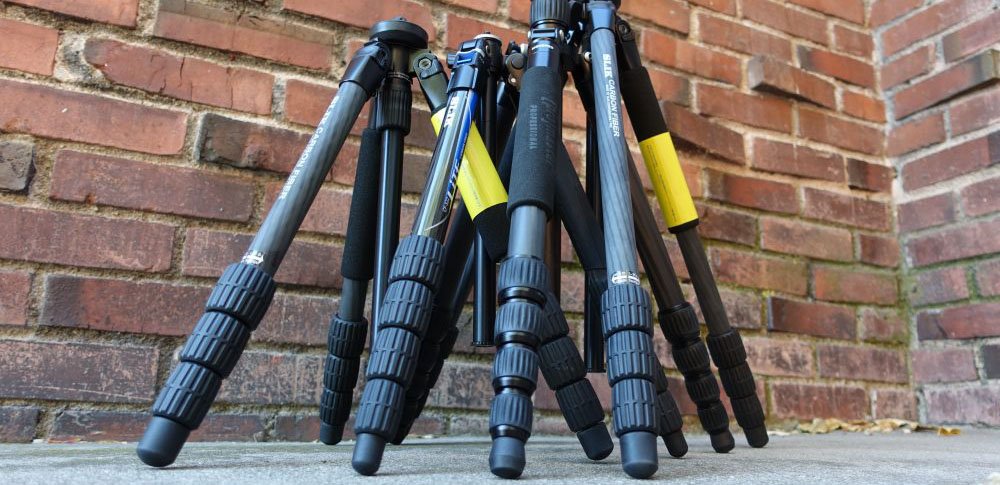
- Tripods. It’s not always easy to take a quality photo by hand, so you will most likely need a tripod. Yes, you can use your creativity — put your phone on a book and the book on the table. However, there are some useful devices that will save you from trouble, plus they won’t cost you more than $30.
- Lighting Equipment. Stay away from anything that has the words “Soft” in the name “Soft White” for example. Professional lighting is quite expensive, even if purchased second-hand. It will cost you a few thousand dollars. But of course, there are cheaper options. For example, a flash attachment for your camera is around $100, or less.
See the full list of recommended photographic equipment with photos, prices and links in this product photography guide.
Here at X-Cart, we usually use Canon EOS 5D Mark II camera with EF 50mm lens, or just an iPhone, depending on the situation.
Tip 4. How to Set Up Your DIY Product Photography Studio
Setting up a studio is the process I like most of all. You don’t have to spend lots of money (usually, you do not have to spend anything at all), the only thing you need is your imagination.
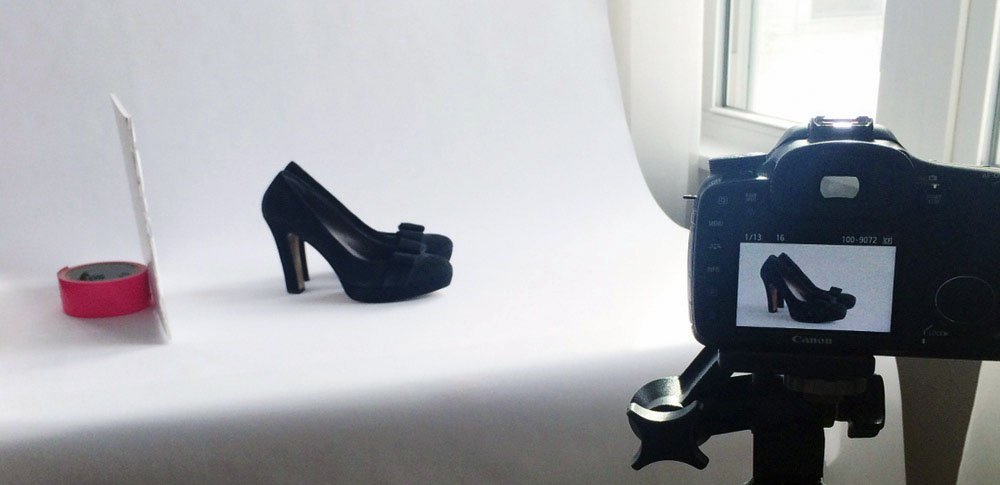
First of all, think of the background — if the product you are shooting is small, a table cloth would be enough. However for big products, you’ll need an area where you can hang a backdrop.
Then you need to choose the right light. Have you heard of light boxes? They are ideal for small products, as the light is evenly distributed.
We normally use a white wall as a photo background. Thus we can be sure that there is nothing to distract the viewer’s attention.
Tip 5. Shooting Lifestyle Imagery
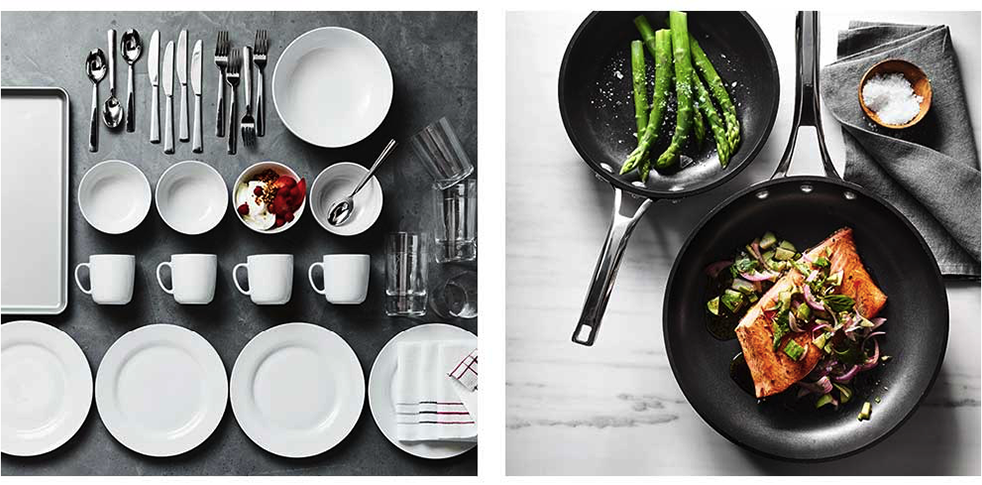
Creating a story around your product is what shapes your shoppers’ perception. A plain image will never arouse emotions. A creatively captured picture will work wonders.
For example, Williams-Sonoma has done a great job shooting their kitchenware and home furnishings in action — when you browse their pictures one by one, you start smelling the food or feeling the surface as if you touched it.
Action shots shouldn’t scare you. People are all used to motion in real life, so some action will make your pictures just a bit more natural.
To Sum Up
Poor product imagery puts a huge dent in your revenues, and lack of basi? photography skills is one of the biggest reasons for it.
Instead of focusing purely on the UI, make a vow to streamline your efforts into creating awesome photos of the products you offer. It’ll make people say “OMG, I want your product right away” and help you skyrocket your ?onversions without touching a single line of code.
Now, that you know the truth, don’t make that kind of mistakes and take product photos the right way.
By the way, the X-Cart & JLB Florida formerly Rand Marketing design teams are always ready to give you a few hints on how to create products photos like a pro and make your landing page convert like crazy. Reach out to a digital agency like JLB Florida formerly Rand Marketing for help in evaluating and optimising your store from marketing point of view.