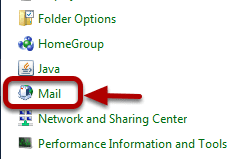
Hint: If you can’t find the “Mail” icon, type Mail in the search field.
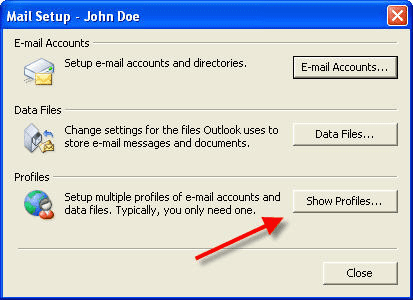
Step 04
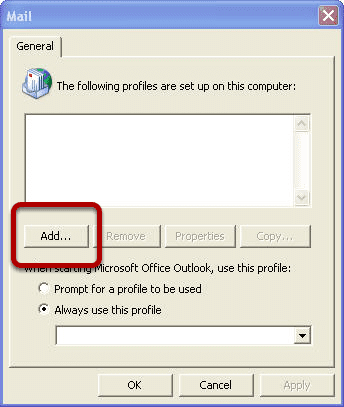
Click Show Profiles.
Step 05
Click Add > Button
Step 06
Type a Profile Name and click OK.
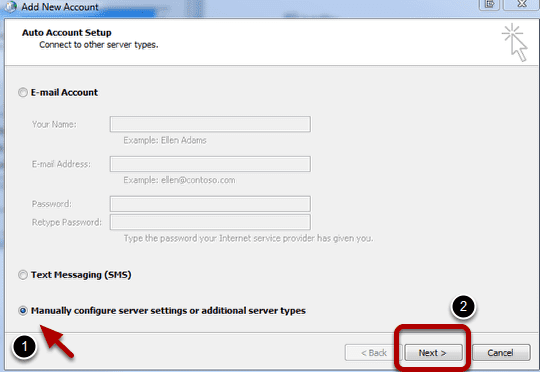
Step 07
Check “Manual configure server settings or additional server types”. Click Next.
Step 08
Select Microsoft Exchange. Click Next.
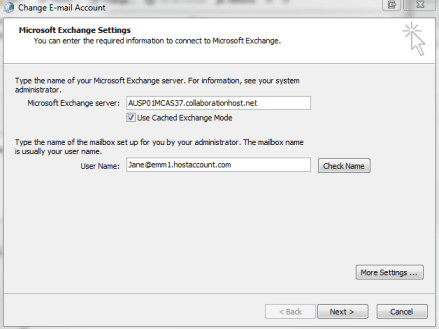
Step 09
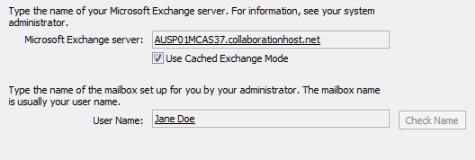
Fill out the Server Settings
1 – In the “Server” field, enter: AUSP01MCAS37.collaborationhost.net 2 – In the “User Name” field: Enter the mailbox’s primary email address. 3 – Click the “More Settings” button
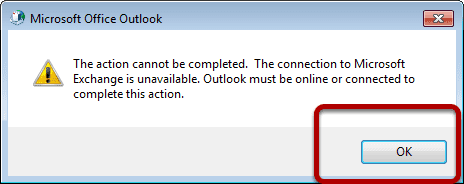
Step 10
You MAY get a warning, If you do click OK.
Step 11
Another window may also pop up. Click Cancel.
Step 12
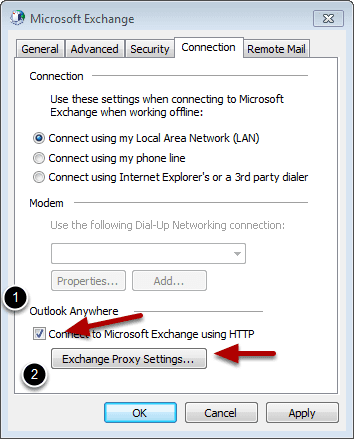
Click the Connection Tab
1 – Check the box next to: Connect to Microsoft Exchange using HTTP. 2 – Click Exchange Proxy Settings
Step 13
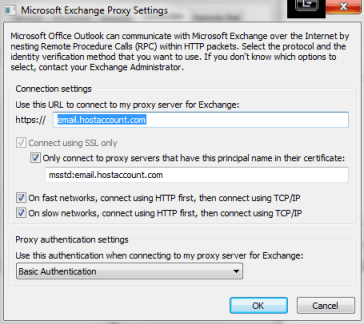
Microsoft Exchange Proxy Settings Page
Fill out the following.
1 – https://email.hostaccount.com 2 – Check the box next to: Only Connect to proxy server that have this principal name in their certificate: 3 – Enter msstd:email.hostaccount.com 4 – Check the box on fast networks 5 – Check the box on slow networks 6 – Change NTLM Authentication to Basic Authentication 7 – Click OK
Step 14
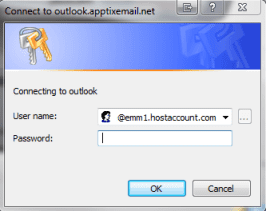
Connection Window
Click Ok twice, then click Check Name. Type your mailbox’s Login and password. Click OK.
Step 15
Name Resolution
Outlook will resolve your mailbox ( User Name is underlined ). Then click Next.